 By Maya Reed, Editor
Reviewed & updated September 2026 · Researched, AI-assisted & human-reviewed
Educational information only — not medical advice. Learn more
The lat pulldown is one of the most common back exercises in any gym, but it's also one of the most frequently botched — most people turn it into an arm exercise without realizing it. Get the setup and pull path right, and it becomes one of the best builders of back width available to beginners and experienced lifters alike.
This article is for general fitness education, not medical advice. Check with a doctor or physical therapist before starting a new exercise routine, especially if you have a shoulder or back injury.
 What you’ll find insideCurated by Maya · 7 min read
What the lat pulldown actually trains
The lat pulldown primarily targets the latissimus dorsi — the large, wing-shaped muscles that run down the sides of your back — along with secondary work for the biceps, rear delts, and mid-back muscles like the rhomboids and trapezius. It's often used as a substitute or lead-up to pull-ups, since it lets you adjust the resistance instead of moving your full bodyweight.
Done correctly, the movement builds the width and thickness that make a back look strong from behind, and it strengthens the pulling muscles that support posture and shoulder health. Done poorly, it turns into a bicep-dominant curl-and-shrug that barely touches the lats at all.
Setting up the machine correctly
Before touching the weight, get the seat and thigh pad adjusted. The thigh pads should sit snugly on top of your thighs, close enough that you can't slide up off the seat when you pull down — if you can lift off the seat during a rep, the pad is set too high or you're using too much weight.
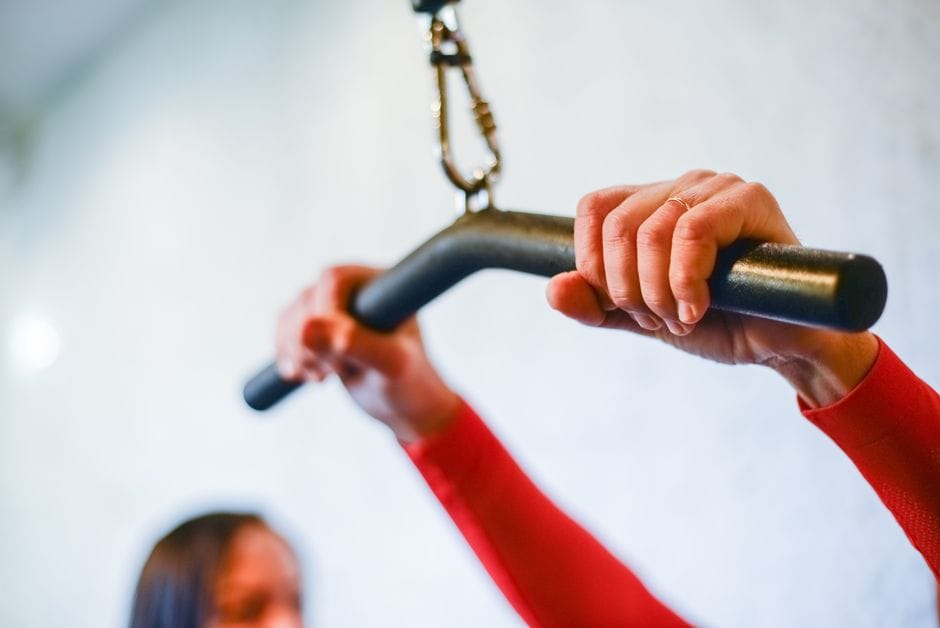
Sit with your torso upright, chest lifted, and grip the bar slightly wider than shoulder width with an overhand grip. Your arms should be fully extended at the start, with a slight lean back of maybe 10-15 degrees — not a big dramatic lean that turns the pull into a row.
The pull: lats first, arms second
The single biggest form fix that changes this exercise is initiating the pull with your shoulder blades, not your hands. Before you bend your elbows at all, think about pulling your shoulder blades down and back, as if trying to tuck them into your back pockets. This "scapular depression" is what actually recruits the lats.
Once your shoulders are set, pull the bar down toward your upper chest, driving your elbows down and slightly back. Keep your elbows tracking under the bar rather than flaring out to the sides — flared elbows shift tension toward the shoulders and away from the back.
At the bottom of the rep, the bar should reach roughly to your collarbone or upper chest, not behind your neck. Behind-the-neck pulldowns put the shoulder in a compromised position and offer no extra back benefit, so there's no reason to risk it.
Controlling the return
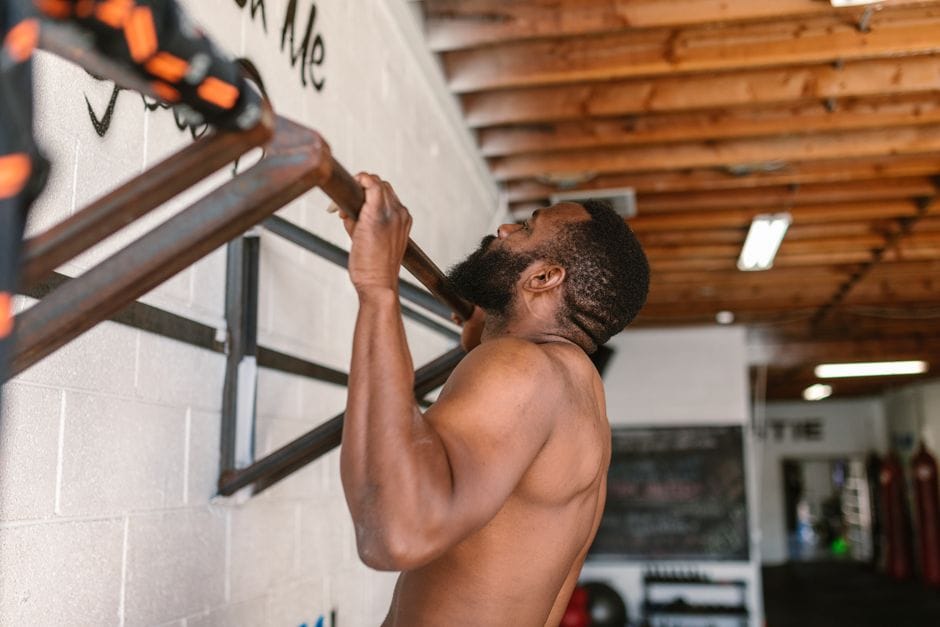
The eccentric (upward) portion of the lift matters just as much as the pull down. Let the bar rise under control, resisting the weight rather than letting it yank your arms back up. A 2-3 second controlled return keeps tension on the lats through the full range of motion and reduces momentum that lets lighter weights feel deceptively easy.
Stop the ascent when your arms are fully extended and you feel a stretch across your upper back, but avoid shrugging your shoulders up toward your ears at the top — that just transfers work to the traps.
Common mistakes that limit results
Using too much weight and swinging the torso. If you need to lean back dramatically or use body momentum to move the bar, the weight is too heavy. Drop it down until you can complete the movement with a controlled torso.
Pulling behind the neck. As mentioned, this doesn't add lat activation and increases shoulder impingement risk. Pull to the front every time.
Not achieving a full stretch at the top. Cutting the range of motion short by stopping halfway up shortchanges the exercise. Let your arms fully extend each rep.
Gripping too wide or too narrow. An extremely wide grip reduces range of motion and can strain the shoulders; an extremely narrow grip shifts more work to the biceps. A grip just outside shoulder width is the sweet spot for most people.
Curling the wrists instead of pulling with the back. If your forearms are doing most of the visible work, focus on the shoulder-blade-first cue again before adding load.
Grip variations worth trying
A wide overhand grip (the default) emphasizes back width. A closer, underhand (supinated) grip shifts more work to the lower lats and biceps and often allows slightly heavier loads. A neutral grip, using a V-bar or parallel handles, tends to feel easier on the shoulders and is a good option if the standard bar bothers your wrists or elbows.
Rotating between grips every few weeks is a reasonable way to keep the exercise feeling fresh and to hit the back muscles from slightly different angles, without needing to overhaul your whole routine.
How to program it
For most people building general strength and muscle, 3-4 sets of 8-12 reps works well for the lat pulldown, generally placed early in a back workout after any pull-ups, or as the primary vertical pull if pull-ups aren't accessible yet. Rest 60-90 seconds between sets.
If you're specifically trying to build up to a first pull-up, using the lat pulldown with a slow, controlled eccentric (4-5 seconds on the way up) at a challenging weight can help build the strength pattern you'll need.

The takeaway
The lat pulldown rewards patience with setup and tempo far more than it rewards heavy weight. Nail the thigh pad height, initiate every rep by pulling your shoulder blades down and back before bending the elbows, pull to your upper chest rather than behind your neck, and control the weight back up rather than letting it snap. Get those details right and the exercise reliably builds a stronger, wider-looking back over time.
Frequently asked questions
Is the lat pulldown a good substitute for pull-ups?
Yes, especially for beginners who can't yet do a full pull-up. It trains the same movement pattern and muscle groups with adjustable resistance, making it a useful stepping stone or complementary exercise even for people who can already do pull-ups.
Should I pull the bar in front of or behind my neck?
In front, to your upper chest. Behind-the-neck pulldowns put the shoulder joint in an awkward, less stable position and don't add any real training benefit over the front version.
Why do I feel this more in my arms than my back?
This usually means you're initiating the pull with your elbows and hands rather than your shoulder blades. Practice the shoulder-blade-first cue, and consider dropping the weight temporarily to master the pattern.
How wide should my grip be?
Slightly wider than shoulder width is a solid default for targeting back width. Narrower and neutral grips are useful variations but aren't strictly necessary if the standard wide grip feels good for you.
Read next



Further reading & trusted sources
Where beginners usually go wrong
If you can lift off the seat during a rep, that’s a clearer sign the weight is too heavy than anything you’d notice in a mirror, since the thigh pads are specifically there to anchor you against exactly that kind of momentum. Behind-the-neck pulldowns keep circulating in older workout routines, but they don’t add any lat activation over the front version — they only add shoulder strain, which is why most current strength coaches skip the variation entirely rather than debate it.
Maya’s editorial obsession is the gap between fitness hype and what the evidence actually shows — she’d rather hand you one boring habit that works than ten exciting ones that don’t. She builds FitNourish’s guides from mainstream, well-established sources (the CDC, the NHS, Mayo Clinic, and peer-reviewed research) and has a human review every one for accuracy before it publishes. She and the team are dedicated fitness enthusiasts and researchers, not doctors, so everything here is general information rather than medical advice. AI tools help with the research and drafting; the fact-checking and judgement are human.