 By Maya Reed, Editor
Reviewed & updated September 2026 · Researched, AI-assisted & human-reviewed
Educational information only — not medical advice. Learn more
The farmer's carry might be the simplest exercise in the gym — pick up something heavy, walk with it — but that simplicity is exactly why it gets skipped. It builds grip strength, core stability, and full-body conditioning better than most machines ever will, and it takes about sixty seconds to learn.
This article shares general fitness information and isn't a substitute for medical advice. Check with a doctor before starting a new exercise routine, especially if you have back or joint concerns.
 Quick navigationCurated by Maya · 7 min read
What a farmer's carry actually trains
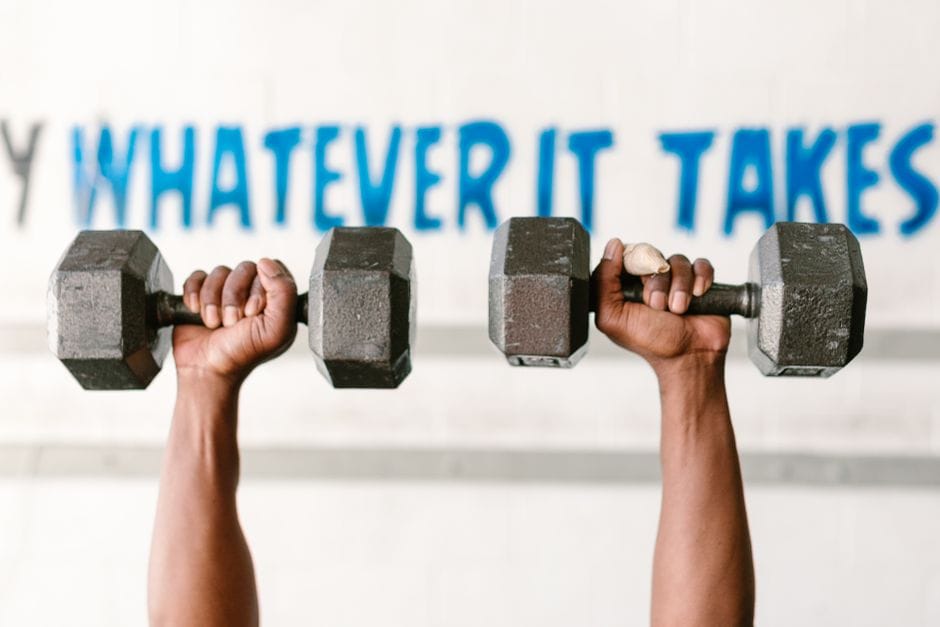
A farmer's carry is exactly what it sounds like: you hold a heavy weight in each hand and walk a set distance or for a set time. It looks too basic to be useful, but it's one of the most complete exercises available. In a single movement you're training grip strength, forearm endurance, trap and shoulder stability, core bracing, and posture — all while your legs do real work carrying load.
The reason it transfers so well to real life is that it mimics an actual human task: carrying something heavy from one place to another. Deadlifts and squats build strength in a controlled, braced position. A farmer's carry asks your body to stay stable and strong while moving, which is a different and often more neglected skill.
Step-by-step form
1. Choose your weight. Pick two dumbbells, kettlebells, or a trap bar loaded heavy enough to challenge your grip within 30-45 seconds. Most beginners start lighter than they expect — grip fatigue sneaks up faster than leg fatigue.
2. Set up like a deadlift. Stand between or beside the weights, feet hip-width apart, hinge at the hips with a flat back, and grab the handles. Don't round your lower back to reach down.
3. Stand up tall. Drive through your heels to stand, keeping the weights at your sides, shoulders pulled back and down (not shrugged up toward your ears), and ribcage stacked over your pelvis.
4. Brace your core. Take a breath into your belly and tighten your midsection like you're about to take a light punch. This brace should hold for the entire carry, not just the first few steps.
5. Walk with control. Take normal-length steps, not shuffling and not overstriding. Keep your chin level and eyes forward — don't look down at your feet or the weights.
6. Set the weights down safely. When the distance or time is up, hinge at the hips again and place the weights down under control. Don't drop them or let your back round on the way down.
The most common mistakes
Shrugging the shoulders up. The instinct when a weight gets heavy is to hike the shoulders toward the ears. This actually makes the carry harder on your neck and does nothing for grip or core work. Keep shoulders pulled down and back the entire time.
Leaning to one side. If one dumbbell is heavier, or your core fatigues unevenly, you'll start to lean. A slight lean under load is normal by the end of a hard set, but leaning from step one means the weight is too heavy or your brace isn't set correctly.
Taking shuffling half-steps. Some people shorten their stride to "protect" their grip, but tiny shuffling steps just extend how long you're under tension without doing more useful work. Normal walking steps are more effective and safer.
Holding your breath the entire time. Bracing your core doesn't mean holding your breath until you're purple. Take controlled breaths while keeping the brace tight — think of it as pressurizing a barrel that stays firm even as air moves in and out.
Farmer's carry variations
- Suitcase carry — one weight in one hand only. This forces your core to resist side-bending (anti-lateral flexion), which is a different and valuable challenge from the standard two-handed version.
- Trap bar carry — using a trap bar keeps the weight centered around your body instead of at your sides, which some people find easier on the lower back.
- Overhead carry — holding weights locked out overhead instead of at your sides. This is significantly harder and shifts the challenge toward shoulder stability; save it until standard carries feel easy.
- Farmer's carry to a run/shuttle — used in athletic conditioning programs, adding speed to a loaded carry builds explosive grip and full-body power. Not necessary for general fitness goals.
How to program farmer's carries
Farmer's carries work well as a finisher at the end of a workout, since fatigued grip strength doesn't compromise the rest of your session the way it would earlier on. A common approach is 3-4 sets of 30-40 seconds of walking, or a fixed distance like 40-60 feet, resting 60-90 seconds between sets.
They also pair naturally with home gym setups, since a single pair of adjustable dumbbells is enough to get real value — you don't need a loaded barbell or specialty equipment to make carries genuinely challenging.
Who benefits most from carries
Anyone whose grip gives out before their back or legs do during deadlifts or pull-ups will get an immediate, obvious carryover from adding carries. They're also useful for people who sit at a desk most of the day, since carries reinforce the upright, braced posture that desk work tends to erode. And because the loading is symmetrical and joint-friendly, carries are one of the safer heavy-load exercises to program for beginners who aren't ready for a loaded barbell deadlift yet.
The takeaway
The farmer's carry earns its place in a home gym or full program not because it's flashy, but because it trains grip, posture, and core stability all at once in a way that transfers directly to daily life. Start with a weight that challenges your grip within about 30-40 seconds, keep your shoulders down and core braced the whole way, and add it as a finisher two or three times a week. Few exercises deliver this much for this little equipment or setup time.
Frequently asked questions
How heavy should my farmer's carry weight be?
Pick a weight where your grip starts to fatigue somewhere between 30 and 45 seconds of walking. If you can easily carry it for over a minute without your hands struggling, it's time to go heavier.
Are farmer's carries bad for your lower back?
Done with good posture — braced core, shoulders back, no leaning — carries are generally easier on the lower back than many other loaded exercises, since the load stays close to the body and there's no repetitive bending involved. If you have an existing back condition, get individual guidance from a professional first.
Can I do farmer's carries with just one dumbbell?
Yes — that's called a suitcase carry, and it's actually a harder core exercise than the two-handed version because your core has to resist tipping to one side the entire time.
How often should I do farmer's carries?
Two to three times a week is plenty for most people, either as a standalone finisher or worked into a full-body or upper-body day. Grip and forearms need recovery time just like any other muscle group.
Read next
Further reading & trusted sources
The part that actually matters
Grip almost always fails before the legs or core do on a first attempt, which is why most beginners pick a weight based on how it feels to deadlift rather than how it feels to hold for 30+ seconds straight — the two aren’t the same test. A slight lean to one side by the last few steps of a heavy set is normal fatigue, but leaning from the very first step is the clearest sign the load is heavier than the core can actually brace against yet.
Maya’s editorial obsession is the gap between fitness hype and what the evidence actually shows — she’d rather hand you one boring habit that works than ten exciting ones that don’t. She builds FitNourish’s guides from mainstream, well-established sources (the CDC, the NHS, Mayo Clinic, and peer-reviewed research) and has a human review every one for accuracy before it publishes. She and the team are dedicated fitness enthusiasts and researchers, not doctors, so everything here is general information rather than medical advice. AI tools help with the research and drafting; the fact-checking and judgement are human.