 By Maya Reed, Editor
Reviewed & updated September 2026 · Researched, AI-assisted & human-reviewed
Educational information only — not medical advice. Learn more
The pull-up is one of the most-wanted fitness milestones, and also one of the most misunderstood — most people who "can't do one" simply haven't trained the specific strength curve a pull-up demands. This guide breaks the movement into stages you can actually progress through, whether you're starting from zero or stuck at the same rep count for months.
This is general fitness information, not medical advice — check with a doctor before starting a new strength program, especially if you have shoulder or back issues.
 In this guideCurated by Maya · 6 min read
Why the pull-up is so hard for beginners
A pull-up asks your back, biceps, and shoulders to move your entire bodyweight through a long range of motion, with no momentum to help you at the bottom. Unlike a lat pulldown, there's no machine adjusting the resistance to match your strength at each point in the rep — the hardest part (the dead hang start) is also the part where you have zero mechanical advantage. That's why someone can pull down 150 lbs on a lat pulldown machine and still fail to do a single bodyweight pull-up: the exercises train overlapping muscles but not identical strength curves.
Stage 1: build a real dead hang
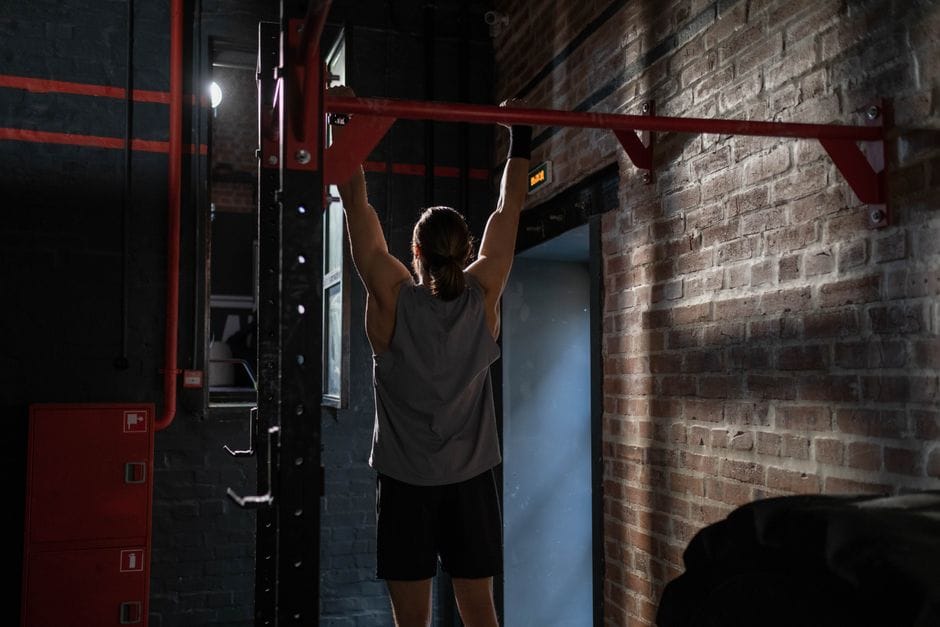
Before worrying about the pull itself, you need to be able to hang from the bar with control for 20-30 seconds. This builds grip strength and shoulder stability that most beginners are missing entirely.
- Grab the bar slightly wider than shoulder width
- Let your shoulders "engage" — pull them down away from your ears rather than hanging totally passive
- Hold for 3-5 sets of 15-30 seconds, resting a minute between sets
Stage 2: negative pull-ups
The negative (lowering) portion of a pull-up is where you can handle far more load than the pulling portion, which makes it the single best beginner-building block.
- Use a box or bench to jump/step up to the top position (chin over the bar)
- Lower yourself as slowly as you can — aim for a 4-6 second descent
- Do 3-5 sets of 3-5 reps, resting 60-90 seconds between sets
Stage 3: banded or assisted pull-ups
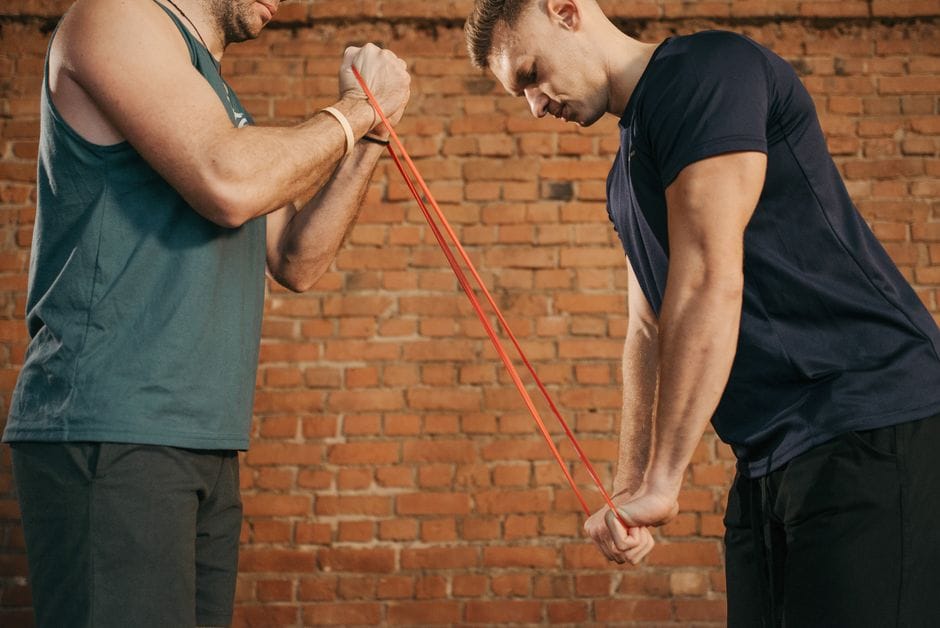
Resistance bands looped over the bar and under your knee or foot remove a portion of your bodyweight, letting you practice the full range of motion.
- Start with a thicker band (more assistance) and work toward thinner bands over several weeks
- Focus on a full range of motion — chin clears the bar, arms fully extend at the bottom
- 3-4 sets of 5-8 reps, 2-3x per week
Stage 4: the flexed-arm hang and partial reps
Once negatives and banded reps feel manageable, start practicing holding the top position (chin over bar) for time, then adding small partial reps from the top down to the midpoint and back up.
- Flexed-arm hang: 3 sets, hold as long as possible
- Partial reps: 3 sets of 5, working only the top half of the range
Common mistakes that stall progress
- Kipping or swinging early — this masks weakness instead of building it; save kipping for after you have a strict pull-up
- Skipping grip and back accessory work — rows, lat pulldowns, and farmer's carries build the supporting strength that speeds up the whole process
- Training pull-ups every day — the muscles involved need 48 hours to recover; 2-3 sessions per week with other training in between works better than daily grinding
- Only measuring by "can I do one yet" — track hang time, negative-lowering speed, and band thickness instead; those numbers move even when your first pull-up hasn't arrived yet
Putting it into a weekly plan
A simple 8-12 week structure: 2-3 pull-up-focused sessions per week, each starting with a dead hang, followed by 3-4 sets of whichever stage matches your current level (negatives, banded, or partials), finished with 2-3 accessory exercises like rows or lat pulldowns. Progress by making the assistance smaller — a thicker band to a thinner one, a slower negative — rather than rushing to test for a full rep every session.
The takeaway
A first pull-up is built from a handful of specific, trainable pieces — grip and hang strength, controlled negatives, and assisted full-range reps — not from repeatedly failing at the full movement and hoping something clicks. Work through the stages in order, be patient with the timeline (most beginners need 8-16 weeks), and the day you finally clear the bar will feel earned rather than lucky.
Frequently asked questions
How long does it typically take to get a first pull-up?
Most complete beginners need somewhere between 8 and 16 weeks of consistent, structured practice, though grip strength, bodyweight, and training history all shift that range.
Do lat pulldowns transfer to pull-ups?
They help build the same muscles but don't fully transfer, since a pulldown lets a machine support part of your weight throughout the movement. Use pulldowns as a supplement, not a replacement, for negatives and banded reps.
Should I lose weight to get my first pull-up faster?
Bodyweight is one factor in the equation, but grip and back strength usually matter more for beginners. Focus on the progression stages first rather than chasing a scale number.
Is it normal to plateau at the banded pull-up stage?
Yes — this is one of the most common sticking points. If you've been on the same band thickness for 3+ weeks, add negatives or flexed-arm holds into the same session to break through rather than only doing banded reps.
Read next
Further reading & trusted sources
The detail that makes the difference
Grip strength quietly fails before back strength does on most beginners’ first pull-up attempts, which is why a 20-30 second dead hang belongs in the progression even though it feels too basic to matter. Negatives count as failed reps if the descent takes under 2 seconds — the slow lowering is what builds the strength, not just hanging on as gravity does the work.
Maya’s editorial obsession is the gap between fitness hype and what the evidence actually shows — she’d rather hand you one boring habit that works than ten exciting ones that don’t. She builds FitNourish’s guides from mainstream, well-established sources (the CDC, the NHS, Mayo Clinic, and peer-reviewed research) and has a human review every one for accuracy before it publishes. She and the team are dedicated fitness enthusiasts and researchers, not doctors, so everything here is general information rather than medical advice. AI tools help with the research and drafting; the fact-checking and judgement are human.