 By Maya Reed, Editor
Reviewed & updated September 2026 · Researched, AI-assisted & human-reviewed
Educational information only — not medical advice. Learn more
The push-up looks simple, which is exactly why so many people do it badly for years without noticing. It's one of the few exercises that trains your chest, shoulders, triceps, and core in a single movement — no equipment required. Get the form right and it scales from a beginner's first rep all the way to an advanced strength staple.
FitNourish shares general fitness information, not medical advice. Check with a healthcare provider before starting a new exercise routine, especially if you have an existing injury.
 Skip ahead toCurated by Maya · 8 min read
- Why the Push-Up Is Worth Mastering
- Step-by-Step: The Standard Push-Up
- The Three Mistakes That Wreck Most Push-Ups
- Push-Up Variations by Difficulty
- How Many Push-Ups Should You Be Able to Do?
- Building Up If You Can’t Do a Full Push-Up Yet
- How Often to Train Push-Ups
- The Takeaway
- Further reading & trusted sources
Why the Push-Up Is Worth Mastering
A push-up is a compound press — it moves your whole body as one unit rather than isolating a single muscle. Done correctly, it builds pressing strength that transfers directly to bench pressing, overhead pressing, and everyday pushing tasks. It also demands real core and glute engagement to keep your body straight, which is why a sloppy push-up trains almost nothing while a tight one trains almost everything.
The catch is that "sloppy" is the default. Sagging hips, flared elbows, and a half-range motion are so common that most people never feel what a real push-up is supposed to feel like.
Step-by-Step: The Standard Push-Up
- Set your hand position. Place your hands slightly wider than shoulder width, fingers pointing forward, directly under your shoulders when your arms are extended.
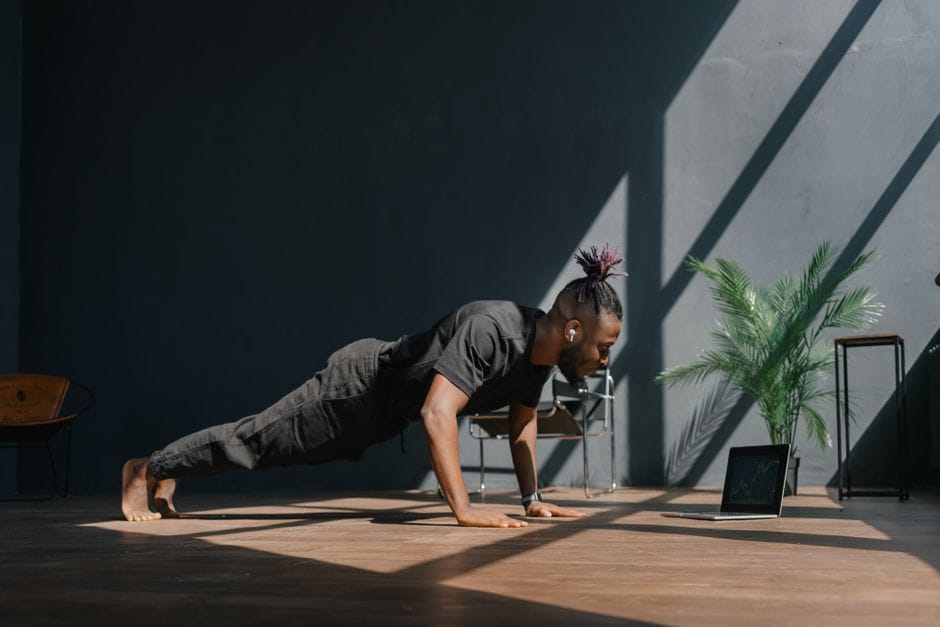
- Build a straight line. Squeeze your glutes and brace your abs so your body forms one straight line from head to heels — no sagging hips, no piked-up butt.
- Lower with control. Bend your elbows and lower your chest toward the floor, keeping your elbows at roughly a 30–45 degree angle from your torso (not flared out to 90 degrees).
- Touch and drive. Lower until your chest is an inch or two off the floor, then press back up to a fully extended, locked-out elbow.
- Breathe on rhythm. Inhale on the way down, exhale as you press up.
That's the full rep. The difference between a push-up that builds strength and one that just burns time is almost entirely in how well you hold steps 2 and 3.
The Three Mistakes That Wreck Most Push-Ups
Sagging hips. When your core isn't braced, gravity pulls your hips toward the floor first. This turns the exercise into a lower-back strain instead of a chest-and-core exercise. Fix: actively squeeze your glutes and think about pulling your belly button toward your spine before you start the rep.
Flared elbows. Letting your elbows point straight out to the sides (a 90-degree angle) puts unnecessary stress on the shoulder joint. Keeping them closer to your body, in that 30–45 degree range, protects your shoulders and actually engages your triceps more effectively.
Partial range of motion. Stopping halfway down is the easiest way to make a push-up feel easier while getting less out of it. A full rep — chest close to the floor, elbows fully locked at the top — trains far more muscle fiber than a shallow bounce.
[TAKE] The fastest form check that actually works: film yourself from the side for five reps. Most people are shocked at how much their hips sag or how shallow their range really is compared to how the rep felt. A five-second phone video tells you more than any cue.
Push-Up Variations by Difficulty
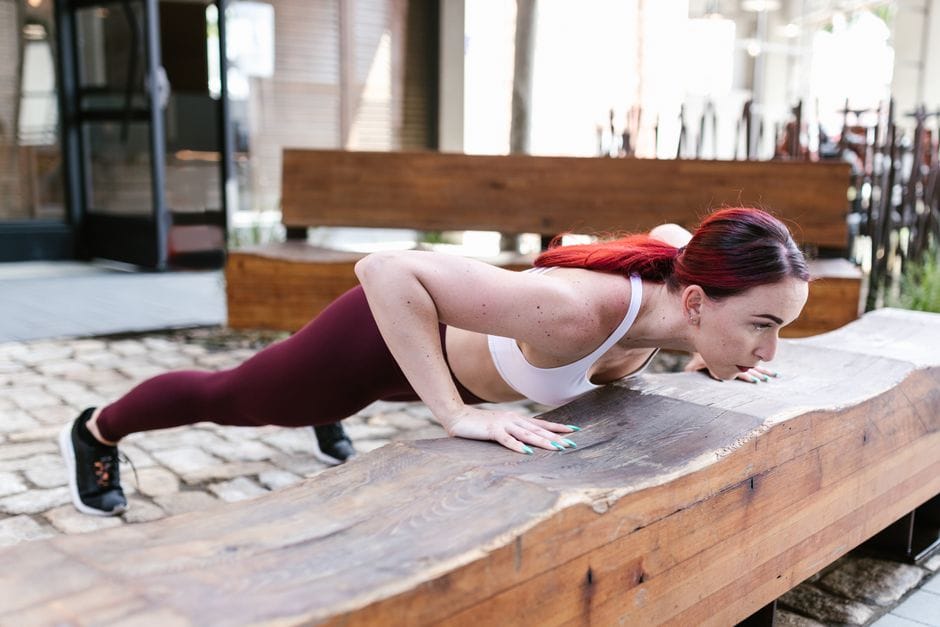
Easier — Incline push-up. Place your hands on a bench, step, or sturdy furniture instead of the floor. The higher the surface, the easier the rep — this lets you build strength with full range of motion before moving to the floor.
Easier — Knee push-up. Lower onto your knees instead of your toes, keeping the same straight line from knees to head. This is a legitimate progression step, not a lesser version — many people benefit from spending real time here.
Standard — Floor push-up. The version described above.
Harder — Decline push-up. Elevate your feet on a bench or step. This shifts more weight onto your shoulders and upper chest.
Harder — Diamond push-up. Bring your hands together under your chest, forming a diamond shape with your thumbs and index fingers. This shifts emphasis heavily onto the triceps.
Advanced — Archer push-up. Extend one arm out to the side while performing the movement primarily with the other, alternating sides. A serious single-arm strength builder.
How Many Push-Ups Should You Be Able to Do?
There's no single universal number, and chasing one can push you toward sloppy reps just to hit a count. As a rough, non-diagnostic reference point, many beginner fitness programs use 10–15 clean push-ups as a "foundational" benchmark, with 20–30+ considered a solid intermediate level. What matters far more than the number is whether every single rep uses full range of motion and a straight body line — 8 clean reps beats 20 sloppy ones for actually building strength.
Building Up If You Can't Do a Full Push-Up Yet
If a standard push-up isn't accessible yet, that's completely normal and not a sign anything is wrong. Progress through this order:
- Wall push-ups (standing, hands on a wall)
- Incline push-ups on a high surface (counter height)
- Incline push-ups on a lower surface (bench, step)
- Knee push-ups
- Standard floor push-ups
Spend a week or two at each level before moving down to a lower incline. This progression works because it lets you keep the same strict form the whole way — you're reducing the percentage of bodyweight you're lifting, not cutting corners on technique.
How Often to Train Push-Ups
For most people building strength, 2–4 sessions per week with a day of rest between hard sessions works well. A simple structure: 3 sets of as many clean reps as you can do with good form, resting 60–90 seconds between sets. As you improve, add reps before adding harder variations — mastering volume at one level builds a more durable base than rushing to a harder version.
The Takeaway
The push-up rewards patience with form far more than it rewards raw effort. A straight body line, full range of motion, and elbows tracking near your torso turn a basic bodyweight move into one of the most effective upper-body and core exercises available — no gym required. Start at whatever variation lets you do that correctly, and progress from there.
Frequently Asked Questions
Why do my wrists hurt during push-ups?
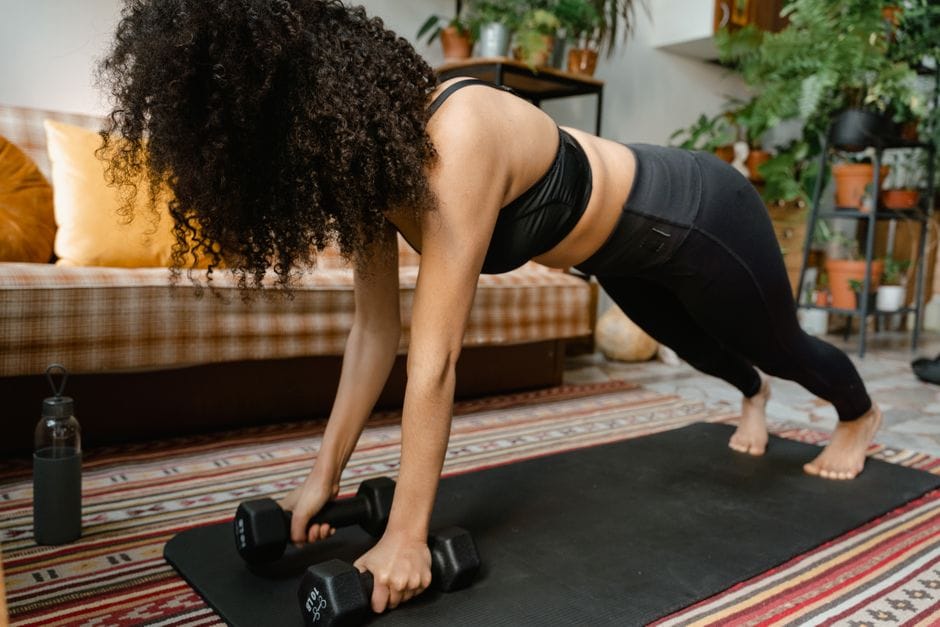
Wrist discomfort is common when the wrist is bent back at a sharp angle. Try push-up handles, dumbbells (gripping the handles), or a slight fist position to keep your wrist more neutral.
Is it better to do push-ups fast or slow?
Slower, controlled reps with a real pause at the bottom build more strength and control than fast, bouncy reps. Save faster tempos for specific power-focused training once your form is solid.
Can push-ups build noticeable chest muscle on their own?
Push-ups can build real strength and some muscle, especially for beginners, but progress will plateau faster than with added external resistance (like a weighted vest or resistance band) once your bodyweight strength catches up.
Should I do push-ups every day?
Daily push-ups are fine at low-to-moderate volume since it's a bodyweight movement, but if you're training close to failure, your chest, shoulders, and triceps still need recovery time like any other muscle group — 2–4 sessions per week with rest days is a more sustainable structure for building strength.
Read next


Further reading & trusted sources
A common mistake to skip
A five-second phone video from the side catches sagging hips and shallow range far better than how the rep actually feels — most people are shocked at the gap between their perceived form and what the camera shows. Elbows flared to a full 90 degrees is the single most common fixable error, and pulling them to a 30-45 degree angle instantly reduces shoulder strain without needing any strength change.
Maya’s editorial obsession is the gap between fitness hype and what the evidence actually shows — she’d rather hand you one boring habit that works than ten exciting ones that don’t. She builds FitNourish’s guides from mainstream, well-established sources (the CDC, the NHS, Mayo Clinic, and peer-reviewed research) and has a human review every one for accuracy before it publishes. She and the team are dedicated fitness enthusiasts and researchers, not doctors, so everything here is general information rather than medical advice. AI tools help with the research and drafting; the fact-checking and judgement are human.