 By Maya Reed, Editor
Reviewed & updated September 2026 · Researched, AI-assisted & human-reviewed
Educational information only — not medical advice. Learn more
The dead bug looks almost too easy to be worth doing — you lie on your back and slowly lower an arm and the opposite leg. But done with real intent, it trains the exact thing most crunches miss: keeping your spine still while your limbs move. That anti-movement demand is why physical therapists and strength coaches reach for it so often.
This article is for general fitness education, not medical advice. If you have a back injury, are pregnant, or have any condition affecting your core or spine, check with a healthcare professional before adding dead bugs to your routine.
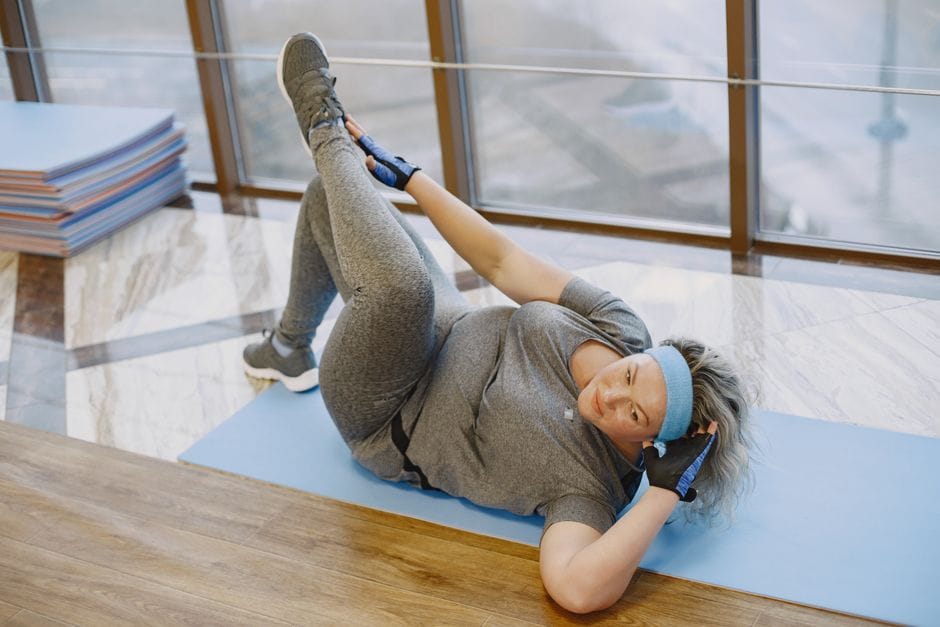 Jump to a sectionCurated by Maya · 8 min read
What a dead bug actually trains
A dead bug is a core stability exercise done lying face-up, where you extend one arm overhead and the opposite leg out straight while keeping your lower back pressed flat to the floor. The goal is not to move your torso at all — it's to resist the pull your moving limbs create. That makes it an "anti-extension" exercise, training your deep abdominal muscles (the transverse abdominis and obliques) to lock your ribcage and pelvis together.
This matters because a stable midsection is what lets force transfer cleanly between your upper and lower body during almost every other movement — squatting, deadlifting, carrying groceries, picking up a child. The dead bug builds that stability in a position where your spine is fully supported and there's almost no risk of loading it badly, which is why it works well for beginners and people returning from back pain alike.
Setting up the dead bug
- Lie on your back on a mat with your knees bent and stacked directly over your hips, shins parallel to the floor (this is called the "tabletop" position).
- Reach both arms straight up toward the ceiling, directly over your shoulders, so your body makes a rough right angle at the hips and knees.
- Press your lower back gently into the floor. There should be no gap you could slide a hand under. This is your starting brace and you'll hold it the entire set.
- Take a breath in, then exhale hard and feel your ribs pull down toward your hips. That rib-down position is the one you're trying to keep from the first rep to the last.
Step-by-step form
- From the tabletop position with arms pointing up, brace your core as if you're about to be poked in the stomach.
- Slowly lower your right arm overhead toward the floor and straighten your left leg, lowering it toward the floor at the same time.
- Stop before either limb touches the ground — go only as far as you can while keeping your lower back flat. For many people that's a few inches off the floor.
- Pause for a beat, then slowly return the arm and leg to the starting position.
- Repeat on the other side, lowering the left arm and right leg. That's one full rep. Move slowly and keep breathing throughout.
Common mistakes
- Arching the lower back. The moment your back peels off the floor, the exercise stops training stability and starts loading your spine. If your back arches, reduce your range of motion — lower the limbs only halfway, or bend the extending leg slightly.
- Holding your breath. Bracing by holding your breath makes the position feel more solid but teaches a habit you don't want. Breathe steadily, exhaling as the limbs extend.
- Moving too fast. Speed lets momentum do the work and hides the fact that your torso is shifting. A slow three-count out and three-count back exposes and fixes that.
- Letting the resting leg drift. The stationary knee should stay stacked over the hip. People often let it drift toward the chest or away, which quietly reduces the load your core has to manage.
- Flaring the ribs. If your ribcage pops up and the front of your torso lengthens, your abs have disengaged. Keep the "ribs down toward hips" feeling from your setup breath.
Making it easier or harder
- Easier: Move only your legs while keeping arms pointing at the ceiling, or move only your arms while legs stay in tabletop. Master one half of the pattern before combining them. Bending the extending leg also shortens the lever and makes it far more manageable.
- Harder: Hold a light dumbbell or medicine ball in the moving hand, add a resistance band looped around your foot and anchored behind you, or slow the tempo to a five-count in each direction.
- Progression path: Once you can do 3 sets of 10 slow reps per side with a flat back and steady breathing, that stability will carry over well to hollow holds, plank variations, and loaded carries.
Who should be cautious
The dead bug is one of the safer core exercises because your spine stays supported the whole time, but anyone with an acute disc issue, a recent abdominal surgery, or pregnancy (where lying flat on the back for long periods is discouraged) should get individual guidance first. If you feel any pinching in your lower back during the movement, that's a signal your range of motion is too big for your current control — shrink it until the movement is painless.
How to program dead bugs into a workout
Dead bugs fit well as part of a warm-up before squats or deadlifts, as a core-focused finisher, or in a dedicated core circuit. Two to three sets of 8-12 slow reps per side is a solid working range for most people. Because the load is light and the movement is low-fatigue, you can do them most days of the week without needing extra recovery. Prioritize quality over rep count — five perfect reps beat fifteen sloppy ones every time with this exercise.
The takeaway
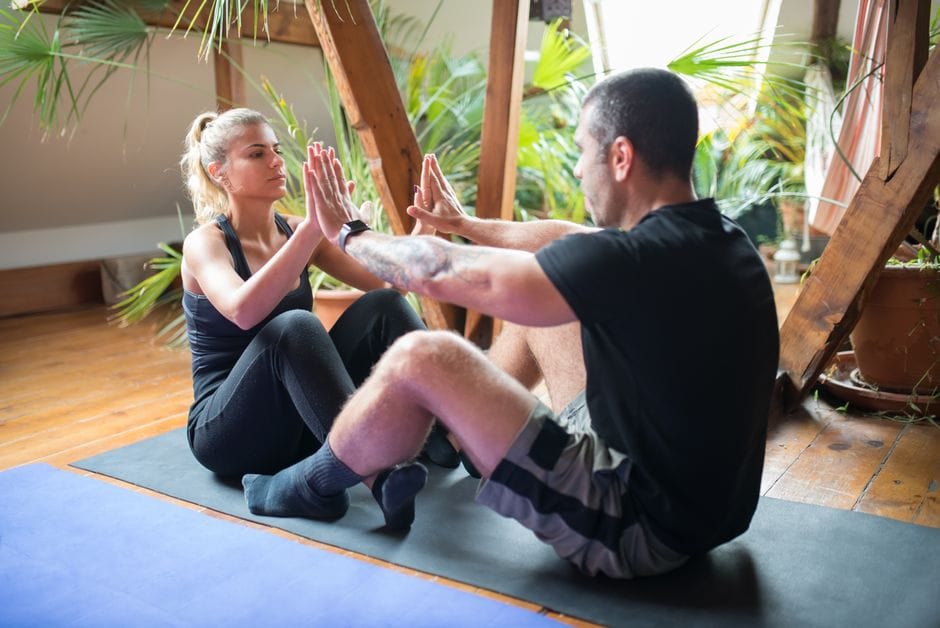
The dead bug is deceptively demanding once you do it with the intent it's designed for: keep your lower back glued to the floor while your arms and legs try to pull it out of position. Move slowly, breathe throughout, and shrink your range of motion the instant your back starts to arch. Build up to clean sets of 10 per side and you'll have a core that stabilizes properly under everything else you do.
Frequently asked questions
How many dead bugs should I do?
Two to three sets of 8-12 slow, controlled reps per side is a good target for most people. Once that feels easy with perfect form, add load or slow the tempo rather than just adding more reps.
Why does my lower back arch during dead bugs?
Your range of motion is likely bigger than your current core control can manage. Lower your arm and leg only partway, or keep the extending leg slightly bent, until you can keep your back flat through the whole rep.
Are dead bugs better than crunches?
They train a different quality. Crunches train the abs to flex the spine; dead bugs train the core to keep the spine still while the limbs move, which transfers more directly to lifting, carrying, and athletic movement. Most people benefit from prioritizing stability work like the dead bug.
Can I do dead bugs every day?
Yes. The load is light and they don't create much fatigue or soreness, so daily practice is fine and can actually speed up how quickly the stability habit becomes automatic.
Read next


Further reading & trusted sources
Where beginners usually go wrong
The reps most people count as ‘done well’ are usually the ones where the lower back has already lifted a few millimeters off the floor without them noticing, because the shift is too small to feel but big enough to move the load from the deep core onto the spine. Shrinking the range of motion so the back stays genuinely flat looks like you’re barely moving, but that’s the version that actually builds the stability the exercise is known for — chasing a bigger reach with the arm and leg is the single most common reason people do dead bugs for weeks and feel nothing change.
Maya’s editorial obsession is the gap between fitness hype and what the evidence actually shows — she’d rather hand you one boring habit that works than ten exciting ones that don’t. She builds FitNourish’s guides from mainstream, well-established sources (the CDC, the NHS, Mayo Clinic, and peer-reviewed research) and has a human review every one for accuracy before it publishes. She and the team are dedicated fitness enthusiasts and researchers, not doctors, so everything here is general information rather than medical advice. AI tools help with the research and drafting; the fact-checking and judgement are human.